How to Change Lip Color on Cameralyze?

How to Change Lip Color on Cameralyze?
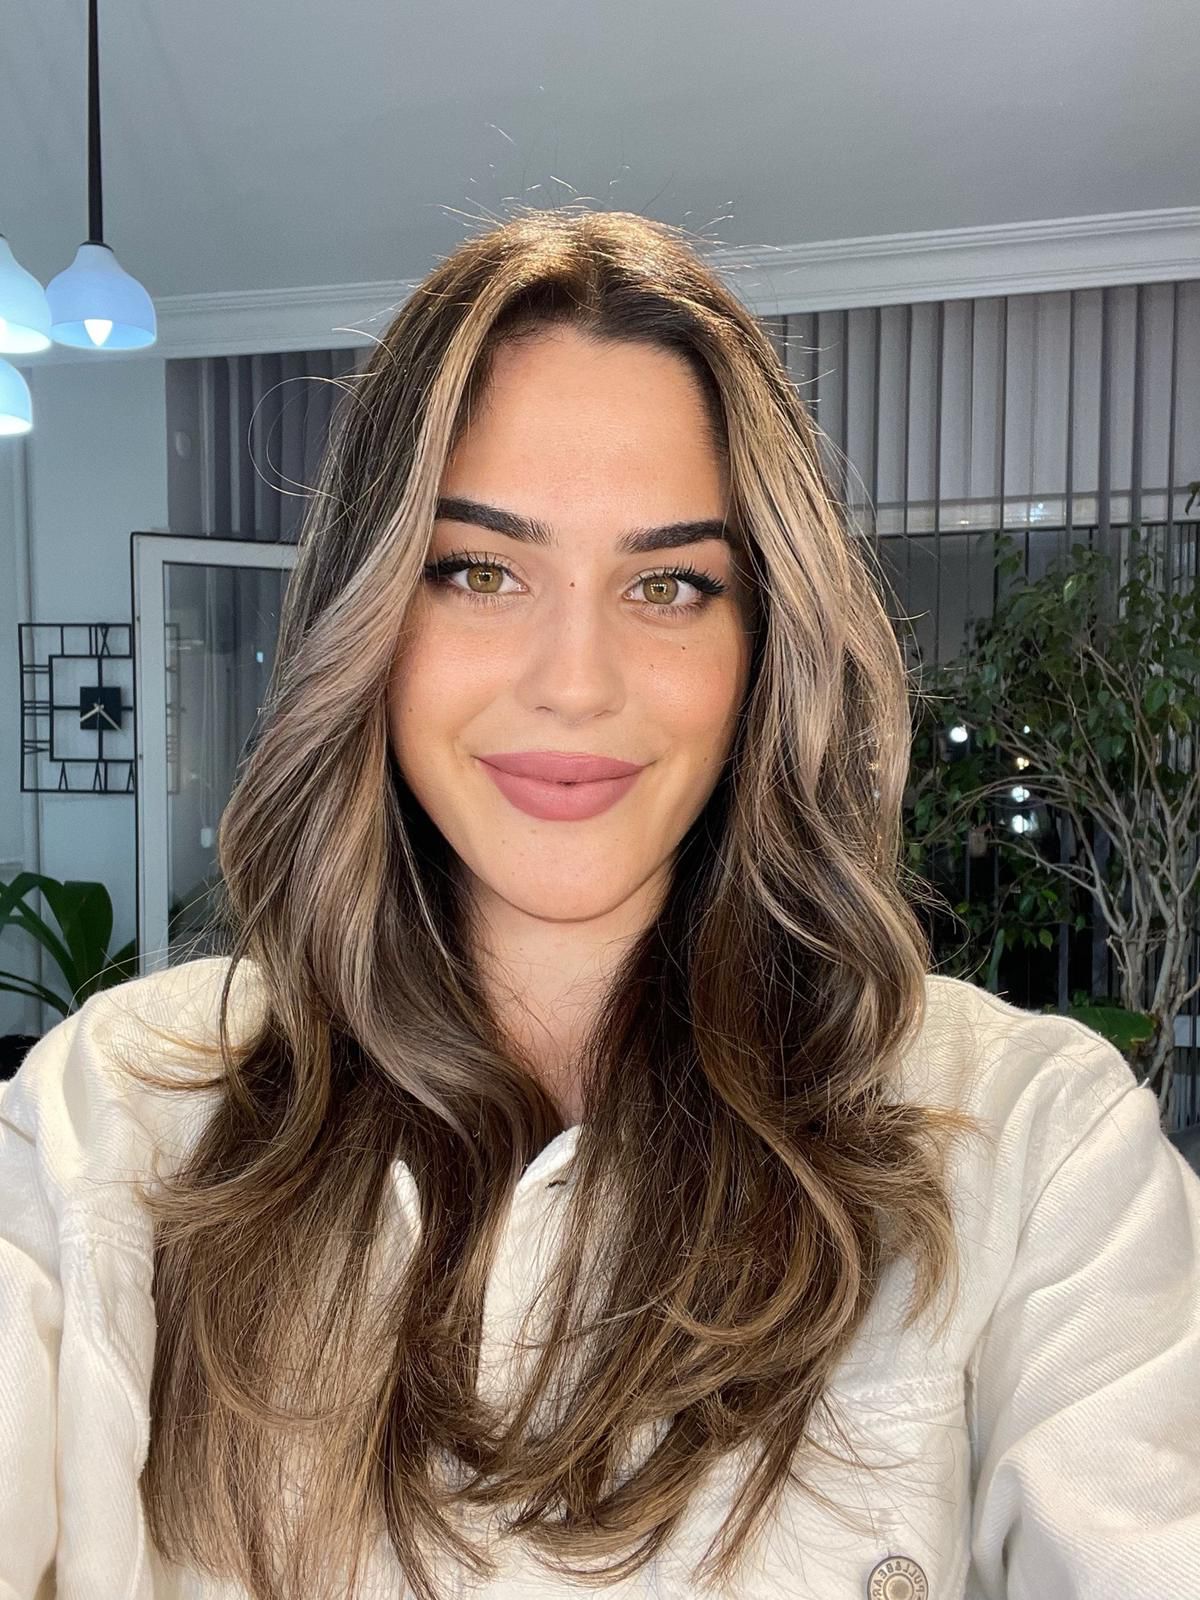
If you’ve captured the ideal selfie but subsequently found that your characteristic lipstick is missing – don’t panic. You can simply fix it with the Cameralyze Lip Color Changer.
In this guide, we will learn how to change the lip color of our photos on the Cameralyze no-code platform. Well, let’s start with the video guide first!
Video Guide of Cameralyze Lip Color Changer
Step-by-Step Guide to Cameralyze Lip Color Changer

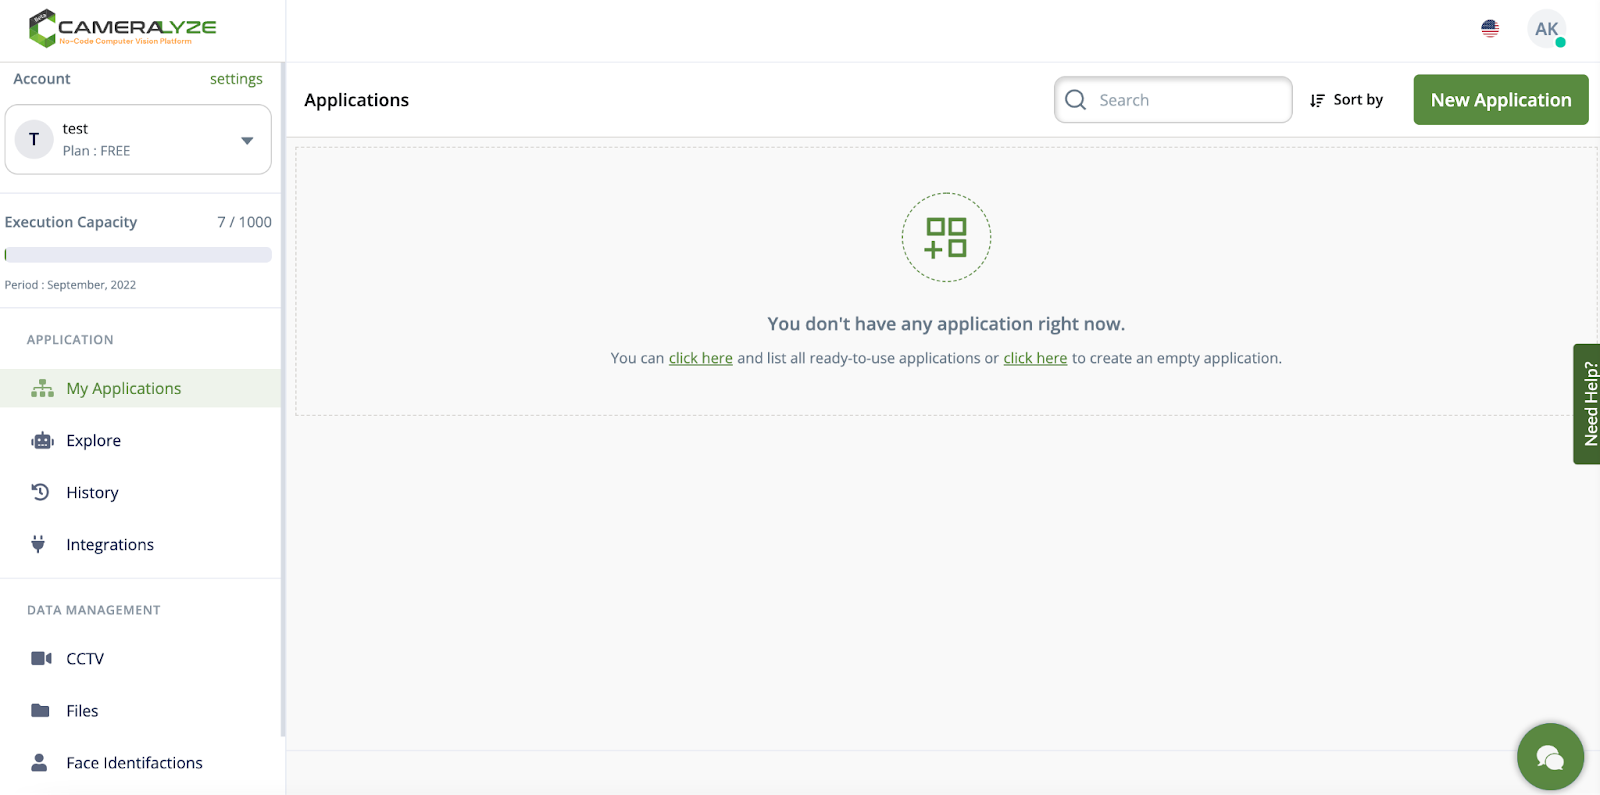
1- This is the dashboard of the Cameralyze platform. We are creating a "Lip Color Changer" application, so the thing that I need to do is to click the ‘’new application’’ button and go to the next page to create my application!

2- In the next step, I need to choose a trigger method to run my application. Here, I want to use a Cameralyze folder, so I will go with ‘’Cameralyze Folder’’

3- In the next step, I need to choose a folder so I choose the ‘’test’’ folder that I created before.

4- After selecting the folder, I need to choose the application type in the second step. I will go with ‘’Face Landmark’’ first.

5- In the third step, I need to go with ‘’Simple Lip Color Changer’’.

Here, I can enter the color code to change the lip color on my photo/s.

6- In the last and final step, I need to choose the result way. I can send the result to an API or I can use Zapier to get my results.
I want to send my results to an API so that I can integrate my Cameralyze application with another software.

6- My ‘’Lip Color Changer’’ application is ready now! It takes only seconds to build it.

I want to preview my application after setting it up. As you see above, it changes the lip color perfectly to the black tone that I selected in the previous step!
If you need a ‘’Lip Color Changer’’ solution, Cameralyze is here. Click here and try the AI-Based Computer Vision solutions to ease your life!


